Midlife's Driver Side Shock Tower Removal
Sept. 1, 2003
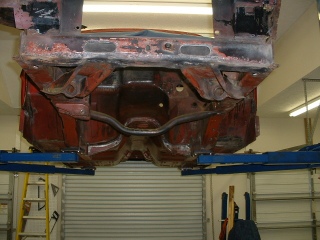
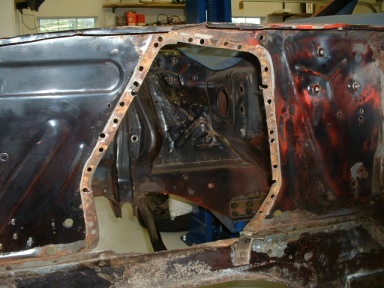
I originally thought I could patch the shock tower on the driver's side. Here's what they looked like:
After careful inspection of how the shock tower was assembled, I'd have to carefully strip out the rusted part without cutting into the motor mount frame bracket. It looked quite difficult. Further, I purchased a shock tower that did not come with the motor mount frame to make the patches from. I also had to remove enough of the shock tower to fix the top of the frame rail. With the motor mount frame bracket still installed, I would not be able to access all of the rusted rail. So, I decided to replace the entire shock tower. I will use the crossbar under the engine as one alignment point, and my export brace as the second mounting point when installing it. I was worried about structural integrity of the front end, but with the car entirely stripped, that shouldn't be a problem. The car is on the lift, with the front support points below the cowl directly on the thickest part of the front frame rails, just before they curve up to the shock tower area.
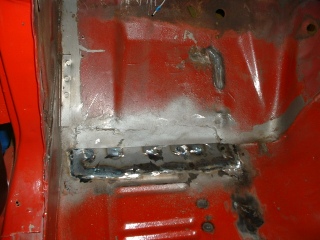
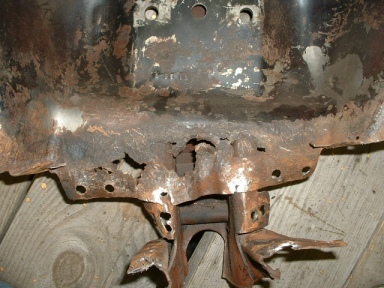
Here's what the area looks like with the shock tower removed:
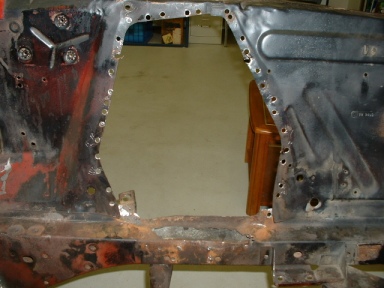
I had to drill an awful lot of spot welds. The reddish stuff on the left is rust. Water gets within the shock tower/fender apron seam from the engine compartment. You can see a slight amount of rumpling on the right photo, near the top of the forward fender apron. A dolly and hammer should take care of that easily.
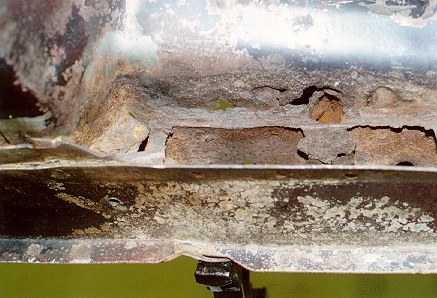
Here's what the shock tower looks like:
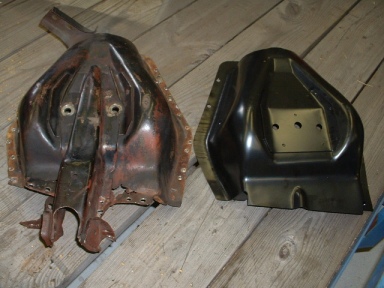
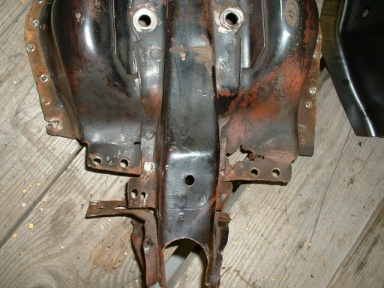
Not too bad, but now look at the inside area:
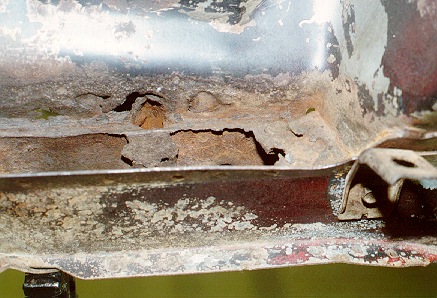
And the frame rail, looking down:
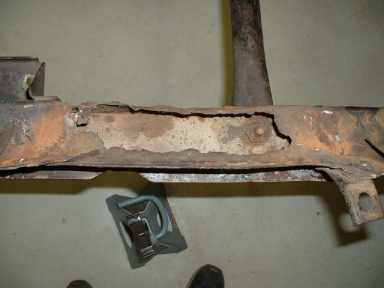
Well, it's out, and a shock tower with motor mount frame bracket is on order. First thing, though, is to fix the frame rail. To do all this work, I had to put Midlife on the lift with supports on the frame rails (left). Oh, and by the way, the previous repair was the driver's side floor pan (right).